Can You Freeze Olive Garden Breadsticks: How To

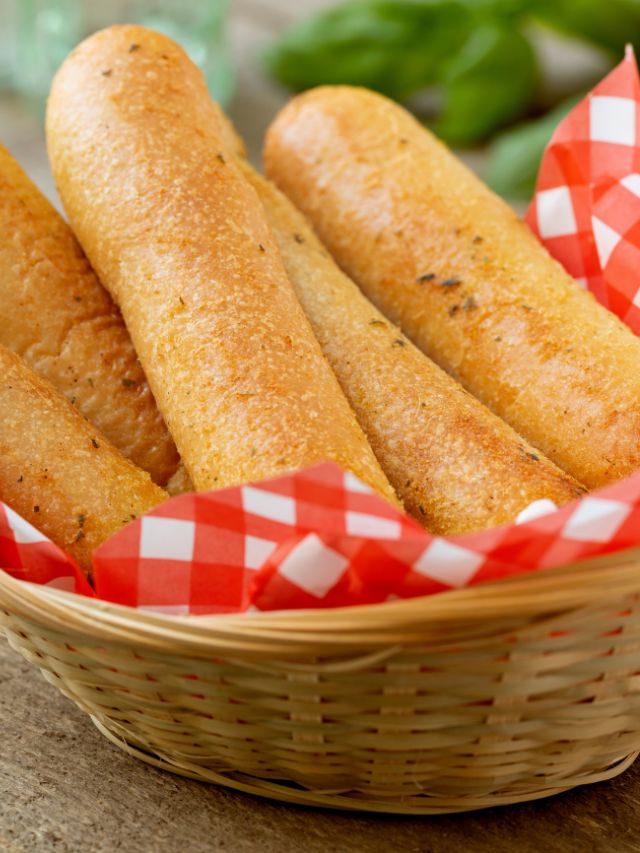
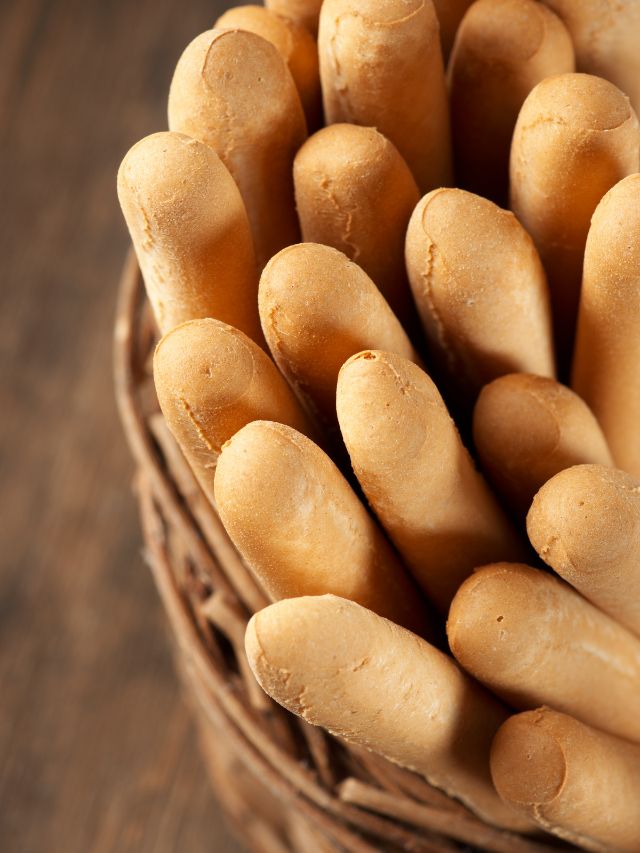
Can you freeze Olive Garden breadsticks is a question many people want to know. They are a great appetizer and the most famous breadsticks!
You’re in luck! Freezing Olive Garden breadsticks is not only possible but also an excellent way to keep them fresh and ready for your next Italian craving.
With Olive Garden’s breadsticks being a popular favorite, it’s natural to want to save some for later use.
The good news is that you can easily freeze them for up to three months, maintaining their flavor and texture with an easy reheating process.
So, don’t worry about having to consume your entire batch of breadsticks in one sitting; enjoy some now and save the rest for another day when you have Italian food.
Here’s the scoop on the process of freezing these delicious breadsticks and offer some tips to ensure they taste just as scrumptious as when they first arrived on your table.
Can You Freeze Olive Garden Breadsticks?
Yes, you can freeze Olive Garden breadsticks! Freezing these delicious treats can be a convenient method for extending their life and enjoying them at a later date.
Here are some steps for properly freezing, storing, and reheating Olive Garden breadsticks.
In the Fridge
When storing leftover breadsticks in the fridge:
- Allow the breadsticks to cool down to room temperature.
- Wrap them in plastic wrap or foil to keep them fresh.
- Place them in an airtight bag or container.
- Store them in the fridge.
This method keeps your breadsticks fresh for a few days. To reheat, simply warm them in the oven at 350°F for a few minutes until they are heated through.
Cool the breadsticks: Allow the breadsticks to cool completely before attempting to freeze them. This will help prevent them from becoming soggy during the freezing process.
Wrap individual breadsticks: To maintain their quality in the freezer, tightly wrap each breadstick in plastic wrap or aluminum foil.
Wrapping them individually helps preserve their texture and flavor.
Store in a freezer bag: Place bread sticks into a freezer-safe bag, ensuring that the bag is airtight. To keep them even fresher, you can double-bag the breadsticks.
They will last for up to 3 months in the freezer while retaining their quality.
Reheating: When you’re ready to enjoy your stored breadsticks, preheat your oven to 375 degrees F (190 degrees C).
Place the frozen breadsticks onto a lightly greased baking sheet, and then reheat them for about 7-10 minutes or until they are warm and crispy.
You can also choose an air fryer, toaster oven, or conventional oven for reheating your breadsticks by placing them on a baking sheet and setting the temperature to 350 degrees for 4-5 minutes.
This may be the best way to enjoy these amazing breadsticks.
In the Freezer

Freezing Olive Garden breadsticks is an excellent way to store them for a longer period of time. To freeze breadsticks:
- Let them cool down completely at room temperature.
- Tightly wrap the breadsticks in plastic wrap or aluminum foil.
- Place the wrapped breadsticks in a freezer-safe bag or container, making sure to remove as much air as possible before sealing. (tip: you want to make sure your breadsticks are stored in a dry place)
- Label the bag or container with the date and store it in the freezer.
Frozen breadsticks can last for up to three months. When you’re ready to enjoy them, preheat your oven to 375°F and place the frozen breadsticks on a lightly greased baking sheet.
Bake for about 5-10 minutes or until they are warmed through and regain their original texture.
Follow these steps to freeze the dough:
Prepare the dough: Make the breadstick dough and divide it into individual dough balls.
Freeze dough balls: Arrange the dough balls in a single layer on a baking sheet, and then freeze them solid. This will prevent them from sticking together before they are stored.
Transfer to a freezer bag: Once the dough balls are frozen, place them into an airtight freezer bag. They can be stored in the freezer for up to 3 months.
When you’re ready to bake your Olive Garden breadsticks from frozen dough, simply remove the desired number of dough balls from the freezer, let them thaw, and then bake as usual.
With these methods, you can have delicious Olive Garden breadsticks whenever you want, right at home!
Reheating Olive Garden Breadsticks

There are various reheating methods to make these yummy breadsticks from the comfort of your home.
Here are the two main ways with step-by-step instructions to enjoy fluffy breadsticks before their expiration date.
Using the Oven
To reheat Olive Garden breadsticks using the oven, follow these simple steps:
- Preheat your oven to medium heat, 350 degrees Fahrenheit (175 degrees Celsius).
- If possible, keep the garlic bread in the Olive Garden-provided bag. If you no longer have the original bag, wrap them in foil or place them on a pan and cover with foil.
- Bake the breadsticks for about 3-4 minutes or until they’re warm and soft.
This method is highly recommended by Olive Garden themselves for achieving the best results and delicious leftovers.
Using the Microwave
If you’re in a hurry, you can also reheat your copycat breadsticks using a microwave as this is one of the easy ways, keeping in mind that the texture might be slightly different than oven-reheated breadsticks.
- Place the breadsticks on a microwave-safe plate, evenly spaced apart.
- Cover them with a microwave-safe lid or another microwave-safe plate. (You can also wrap them in paper towels. For a little moisture, place them in a damp paper towel.)
- Microwave the breadsticks for 10 to 20 seconds at a time, checking to see if they’re warmed through.
Remember that microwaving may cause your breadsticks to become slightly chewier than when they’re reheated in the oven.
Nevertheless, reheating Olive Garden breadsticks in your microwave is a quick and convenient option when you’re short on time.
Using a Steamer Basket
A unique way to reheat breadsticks is by using a steamer basket. Place water into the pot and put it over a flame.
Once the water is hot, place the steamer basket inside the pot and wrap the breadsticks in a napkin or paper towel.
When the water starts to boil, drop the wrapped breadsticks in the hot water and cook for 8 minutes while monitoring them to ensure they don’t get soggy.
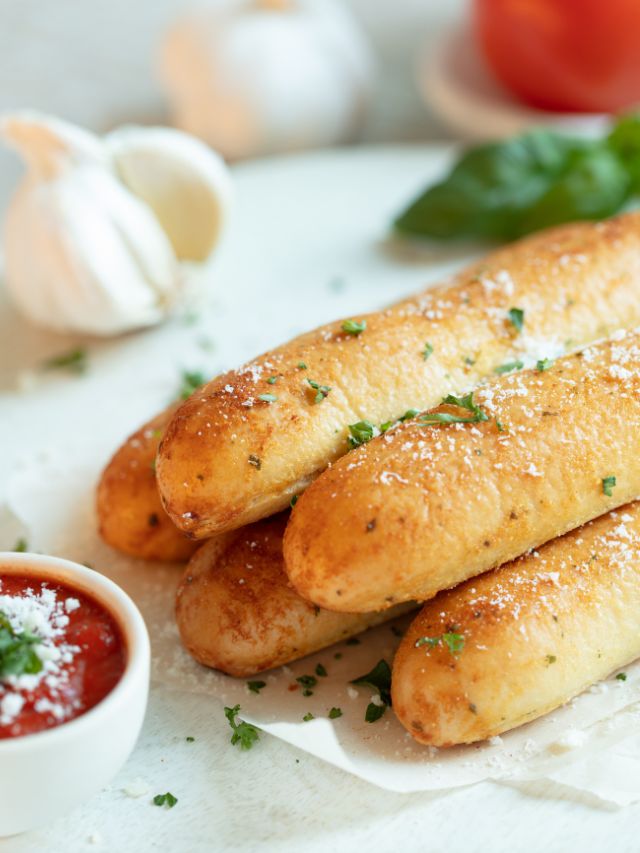
Copycat Olive Garden Breadsticks Recipe
To make copycat Olive Garden breadsticks at home, follow this step-by-step recipe that results in soft, flavorful breadsticks perfect for dipping in marinara sauce or simply served warm with your favorite dinner dishes.
First, gather your ingredients for the homemade breadsticks:
- 1 1/2 cups warm water
- 1 1/2 tsp instant yeast or active dry yeast
- 2 tbsp granulated sugar
- 3 tbsp unsalted butter, melted and cooled
- 1 large egg
- 2 cups all-purpose flour
- 2 cups bread flour
- 2 tsp salt
For the copycat recipe garlic topping, you’ll need:
- 3 tbsp unsalted butter, melted
- 1/2 tsp garlic powder
- 1/4 tsp salt
- 1 tsp sugar
Begin by combining the warm water, yeast, and sugar in a large mixing bowl or the bowl of a stand mixer.
Let the mixture sit for 5-10 minutes until the yeast has dissolved and become frothy. Add the melted butter and the large egg, mixing until combined.
The next step is to gradually add the all-purpose flour, bread flour, and salt to the yeast mixture.
If using a stand mixer, use the dough hook attachment to mix and knead the dough for about 6-8 minutes.
If mixing by hand, knead the dough for 10-12 minutes on a lightly floured surface until smooth and elastic.
Place the kneaded dough in a greased bowl, cover it with a clean towel, and let it rise in a warm place for about 1 hour, or until doubled in size.
After the dough has risen, divide it into 16 equal portions. On a sheet of parchment paper, roll and shape each portion into breadsticks about 7-8 inches long.
Preheat your oven to 375°F (190°C). Place the shaped breadsticks onto a parchment-lined baking sheet, spacing them about 1-2 inches apart.
Cover with a clean towel and allow the breadsticks to approach the second rise for about 30 minutes.
While the breadsticks are rising, prepare the garlic topping by combining the melted butter, garlic powder, salt, and sugar in a small bowl.
Brush the garlic topping over the risen breadsticks.
Bake the breadsticks for 15-18 minutes or until golden brown. Remove from the oven with a kitchen towel, and brush with any remaining garlic topping.
Serve warm and enjoy the taste of Olive Garden’s breadsticks in the comfort of your own home.
Preparing and Baking Breadsticks
Making the Bread Dough
To create the perfect breadstick dough, a great way to start is by combining 1 ½ cups of very warm water with a packet of instant yeast and 2 tablespoons of honey or sugar in a large bowl.
Mix well and let it sit for a few minutes to allow the yeast to activate. Gradually add 3-4 cups of flour to the mixture, using a dough hook attachment if you have one.
Keep adding flour until the dough comes together and isn’t too sticky.
Once it has formed, add 2 tablespoons of olive oil and 3 teaspoons of salt. Knead the dough for a few minutes at medium speed, dusting your hands with flour to prevent sticking.
Shaping and Baking
After kneading, let the dough rise in a bowl covered with a tea towel for about an hour, or until it’s doubled in size.
Once the dough has been proofed, preheat your oven to 425°F and prepare a baking sheet by lightly greasing it.
Divide the dough into 16 equal parts and roll each piece into a long, thin breadstick shape.
Place the shaped breadsticks onto the prepared baking sheet or cookie sheet, leaving space between them to rise and expand. (Tip: The rise time may vary.)
Bake the breadsticks for 11-13 minutes in the preheated oven, or until they become a golden brown color.
Be sure to check for even baking and rotate the sheet if needed to ensure an even color.
Adding Garlic Topping
While the breadsticks are baking, it’s time to prepare the garlic butter topping. In a small bowl, melt 6 tablespoons of salted butter in the microwave.
In a separate bowl, mix together ¼ teaspoon of kosher salt and ¼ teaspoon of garlic powder. Once the butter has melted, whisk the garlic powder and salt mixture into the melted butter.
When the breadsticks are done baking and have achieved a golden brown color, remove them from the oven and immediately brush the garlic butter topping onto the hot breadsticks.
This will give them that delicious, classic Olive Garden flavor. One of the best things is you can enjoy your freshly baked breadsticks with your favorite dipping sauce or as a side to any meal!
Dessert Breadsticks?
While these warm breadsticks with garlic salt and Italian seasoning are delicious and will compliment your favorite soup, you can always choose to make them as dessert bread with cinnamon and sugar.
Serving Suggestions for Olive Garden Breadsticks
Olive Garden breadsticks are a versatile accompaniment to various meals in different ways, and knowing how to serve them can elevate your dining experience.
Pairing breadsticks with dinner options is a classic choice. Serve them alongside your favorite pasta dishes, such as spaghetti, alfredo, or lasagna.
They can also act as a complement to entrees like chicken parmesan or eggplant rollatini.
- Dipping sauce: Offer some marinara or alfredo sauce to enrich the breadsticks’ taste.
- Soup: Breadsticks are a delicious side for any soup, such as minestrone or chicken gnocchi.
- Salad: They make for a great addition to a crisp and fresh salad, especially the famous Olive Garden salad.
Consider creating a soup and salad combination, where guests can choose their preferred soup, or salad, and enjoy unlimited breadsticks on the sides of the bowl.
This approach works well for lighter meals or lunches.
If you have leftovers, don’t hesitate to transform them into a new dish or snack:
- Slice the breadsticks in half and layer with sandwich fillings such as cheese, deli meats, or vegetables.
- Toast them and use them as croutons for your salads.
- Cut them into bite-sized pieces and serve with a selection of sauces and dips. (You can even put sea salt on them.)
Remember, you can freeze the breadsticks to store them for up to three months, ensuring that you always have tasty sides, snacks, or meal enhancers just a thaw and reheat away.
Storing and Reheating Tips
When storing leftover Olive Garden breadsticks, it’s important to properly preserve their quality. To do this, first, let your breadsticks cool down. Then, wrap them in foil or plastic wrap.
Place securely in an airtight bag, such as a Ziploc bag, to ensure freshness. This method works for both refrigerating and freezing.
If you’re storing your breadsticks in the refrigerator, they’ll last for up to three days.
Remember, refrigerating is the better option here, as the breadsticks are covered in butter and taste best when kept in the fridge.
In case you prefer to freeze your Olive Garden breadsticks, follow these steps for successful storage:
- Wrap each breadstick in foil or plastic wrap individually.
- Place them in a heavy-duty airtight bag, such as an airtight Ziploc bag.
- Seal the bag carefully, removing as much air as possible.
When it’s time to enjoy your breadsticks again, reheating them properly is crucial. For the best results, follow these steps:
- If frozen, let the breadsticks thaw completely before reheating.
- Preheat your oven to 350°F (175°C).
- Leave the breadsticks wrapped in foil and place on a baking pan, or unwrap and cover with foil on an oven-proof plate.
- Heat for 5 minutes or until the breadsticks are warm and soft.
By following these storing and reheating tips, you can maintain the quality and deliciousness of your Olive Garden breadsticks, ensuring they stay as close to restaurant-fresh as possible.
Frequently Asked Questions
Can you freeze Olive Garden breadsticks?
Yes, you can freeze Olive Garden breadsticks. To do so, wrap them tightly in plastic wrap or aluminum foil, then place them in a freezer bag. They can last for up to 3 months in the freezer.
How should I reheat frozen breadsticks?
To reheat frozen breadsticks, preheat your oven to 375 degrees F (190 degrees C).
Place the frozen breadsticks on a lightly greased baking sheet, then bake them for about 15-17 minutes, or until they are heated through and regain their original texture.
Are there any deals available for Olive Garden breadsticks?
Keep an eye out for promotions and coupons on the Olive Garden website or app, as they occasionally offer deals and discounts on their mouthwatering breadsticks.
Can Olive Garden breadsticks be a breakfast treat?
While Olive Garden breadsticks might not be a traditional breakfast item, you can certainly enjoy the soft breadsticks as a breakfast treat if you wish, especially if you have what seems like endless breadsticks from yesterday’s dinner!
The warm, soft, and buttery breadsticks can be a satisfying and delicious way to start your day.
Where can I find more information and recipes related to Olive Garden breadsticks?
Several websites offer content related to Olive Garden breadsticks, including copycat recipes and tips on how to make your own at home.
Some popular sites include the Ashcroft Family Table, Creme De La Crumb, and Cooking With Karli.
Are other Olive Garden items, like soups and sauces, suitable for freezing?
Yes, Olive Garden soups and sauces can also be frozen with the proper storage techniques.
Make sure to transfer them to an airtight container before freezing, and they should last for a few months when stored properly.
Other Olive Garden Recipes and Ideas
While Olive Garden is famous for their fresh breadsticks, there are plenty of other delicious recipes you can recreate at home like shrimp scampi and zuppa toscana.
To find inspiration for these dishes, search for copycat recipes on platforms like Pinterest, where you’ll find many ideas based on official Olive Garden recipes.
For a perfect shrimp scampi dish, you’ll need a food scale to accurately measure your ingredients. In addition, a pastry brush is handy for applying butter and other sauces.
To create a rich sauce, consider using whole milk as it adds a creamy texture to the dish.
Another recipe that you might want to try is creating your own soft dinner rolls or French bread. These homemade bread options can be a great alternative to Olive Garden’s breadsticks.
To make them, you’ll require active dry yeast, granulated sugar, a large egg, all-purpose flour, bread flour, and popcorn salt.
A key step in making these rolls is to proof the yeast, which involves letting it rest with a mixture of sugar and warm milk.
Make sure to cover the dough with a tea towel during this process to yield the best results.
Final Thoughts
When experimenting with these recipes, don’t forget to melt butter and brush it onto your homemade bread creations, adding that irresistible flavor.
By using these ingredients and techniques, you can recreate the delicious experience of dining at Olive Garden in your own home the next time.
Remember that there are numerous online resources available to help you perfect your Olive Garden-inspired dishes, so keep exploring and have fun experimenting in the kitchen!

Get the scoop on more delicious recipes by visiting the ones below:
- Low Carb Okra Recipe: Crispy And Easy Air Fryer
- How Long To Air Fry Chicken Nuggets: Crispy Recipe
- How To Reheat Fufu: African Food Kitchen Recipe
- Is Raw Squid Safe To Eat: Health Benefits And Risks
Disclosure: This post may contain affiliate links. Thanks for the support!